
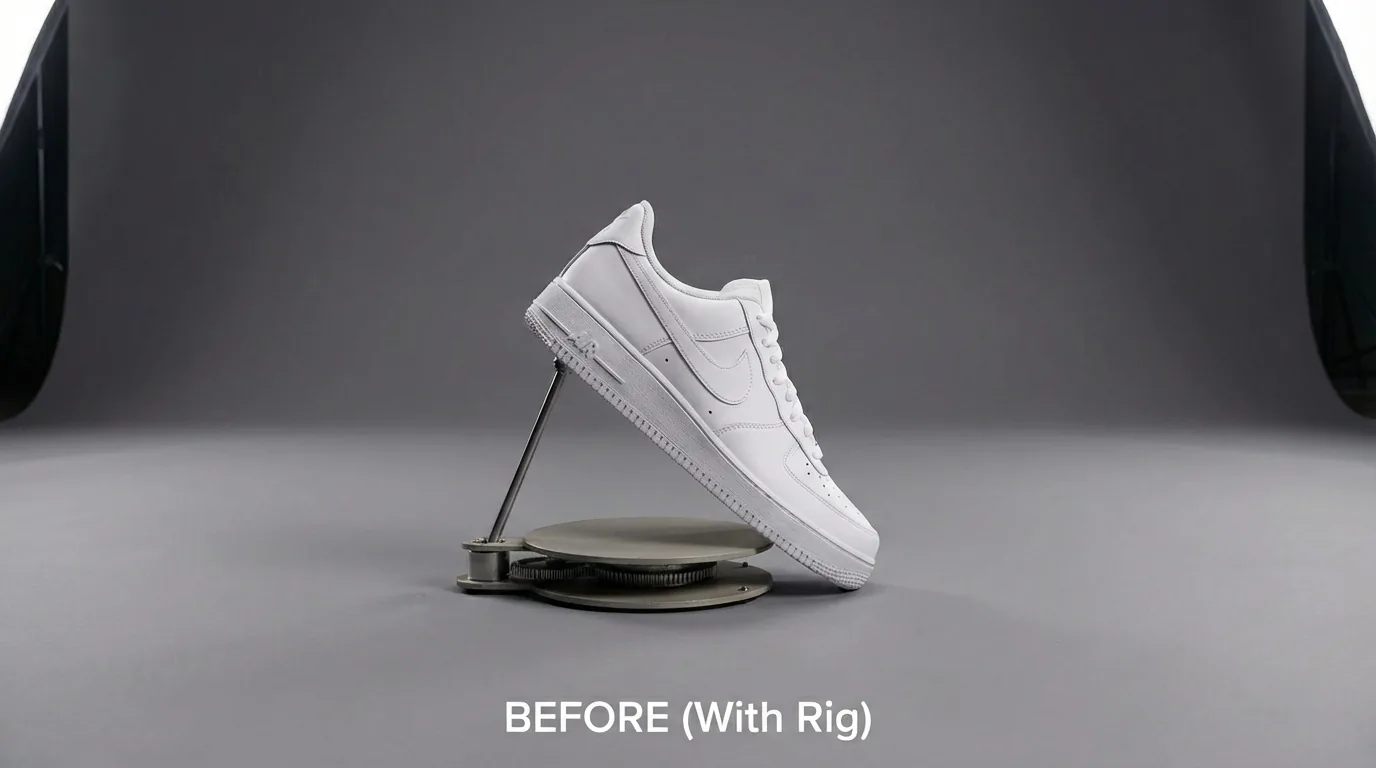

Wire Removal
How to Remove Wires from Action Video — A Complete Guide

Stunt rigs and safety wires save lives on set — but they ruin the shot. Here is the exact workflow professional VFX teams use to remove wires from action footage, frame by frame.
Why Wire Removal Is Harder Than It Looks
Every action sequence with a stunt — a fall, a jump, a fight choreography — is built around safety. Performers are harnessed to wires, sometimes tracked with markers, and surrounded by rigs that hold cameras, lights, and lighting modifiers. None of this can appear in the final cut.
The problem is that wires move. The performer moves. The camera moves. The background moves. A single wire that crosses the actor's arm in one frame might cross their face in the next, then disappear behind a passing car, then reappear against a textured wall. Your cleanup has to track perfectly, blend perfectly, and survive color grading.
This guide walks through the workflow our team uses on commercials, music videos, and feature films — and, just as importantly, what you can do on set to make the cleanup cheaper before a single frame is shot.
What to Do On Set (This Saves the Most Money)
Cleanup cost is decided on the shoot day, not in post. Four decisions on set routinely cut a wire removal budget in half:
- Shoot a clean plate. After the take, hold the camera exactly where it is, get the performer and rigging out of frame, and roll 5–10 seconds of the empty scene. On a locked-off shot this alone can turn a six-hour paint job into a one-hour comp. It costs you ten seconds of shoot time.
- Choose wire colour against the background, not against the set. A dark wire against a bright sky is a five-minute fix. The same wire against a moving crowd or a tree line is hours. If the rigging team can swap to a colour that separates cleanly, ask for it.
- Avoid crossing the face. Where the wire attaches and how the performer rotates decides whether it crosses skin. Skin is the single most expensive surface to paint, because the eye is trained on faces and any texture mismatch reads instantly.
- Keep the camera still if you can. Locked-off, tripod, or a simple slider gives post a trackable plate. Handheld with a focus pull through the wire is the most expensive combination there is.
If you are commissioning the shoot, put "clean plate after every stunt take" in the shot list. Vendors quote lower when they can see one exists.
Step 1 — Footage Audit Before You Touch Anything
Before opening After Effects or Nuke, watch the clip three times.
- First pass: identify every visible rig element — wires, harnesses, safety mats, crew, light stands, tracking markers
- Second pass: note how each element moves relative to the camera and the performer
- Third pass: look for "hand-off moments" where one wire occludes another or crosses a complex texture
If you skip this step, you will paint yourself into a corner halfway through the shot.
Write the audit down. On a multi-shot job the audit becomes your estimate: count the hand-off frames, multiply, and you have a defensible number before anyone commits to a deadline.
Step 2 — Track Before You Paint
Planar tracking with Mocha Pro is the foundation of clean rig removal. Track the background plate that the wire crosses, not the wire itself. This gives you a stable reference that you can then use to clone or warp clean pixels over the wire.
For shots with deep depth or parallax, you may need multiple tracking layers — one for the wall, one for the actor's body, one for any moving foreground element.
Pro tip: spend 80% of your time on tracking. Bad tracking means jittery cleanup, and jittery cleanup is the #1 reason rig removal looks "fake."
When a planar track slips — usually because the surface is curved, or the lighting changes across the move — fall back to a 3D camera solve and project your clean pixels onto simple geometry. It is slower to set up and far more stable across long moves.
Step 3 — Clone, Don't Just Blur
The lazy way to remove a wire is to feather a mask and blur the area. It works on a single still frame. It falls apart the moment the shot plays back.
The right approach is to clone clean background pixels from an adjacent area — either spatially (a similar patch nearby) or temporally (the same pixels from an earlier or later frame, before the wire passed through). Tools like the Clone Stamp in After Effects, or the Roto Paint tool in Nuke, let you stick these clean pixels to your tracking data so they move with the plate.
Temporal cloning is almost always the better answer when it is available. Pixels borrowed from frame 40 of the same shot already carry the correct lighting, grain and lens character. Pixels borrowed from a different part of the frame usually do not.
Step 4 — Handle the Hand-Off Moments
When a wire crosses a complex element — the actor's face, a textured fabric, a brick wall — you can't clone. You have to paint manually, frame by frame, matching color and texture using the surrounding pixels as reference.
This is where the hours go. On a 5-second shot at 24fps, that's 120 frames. If 30 of those frames have hand-off moments, you're looking at a full day of paint work for a single shot.
Two habits make hand-off work go faster. First, paint on the hardest frame first — if you can solve the worst frame, the rest interpolate around it. Second, work at 100% zoom on a calibrated display, not fit-to-window; at 40% zoom a mismatch is invisible until the client watches it on a 65-inch panel.
Step 5 — Match Grain, Blur and Lens
Removing the wire is only half the job. The patch you leave behind has to belong to the same photograph as everything around it.
- Grain. Cloned or painted pixels are usually cleaner than the plate. Sample the grain from an untouched area and add it back at matching size and strength. On log or RAW footage, add grain after you match the working colour space, not before.
- Motion blur. If the subject or camera moves, the replacement pixels must carry the same blur direction and length as their surroundings. A pin-sharp patch inside a blurred frame is the most common giveaway in amateur cleanup.
- Lens character. Wide lenses distort, most lenses soften toward the corners, and many show chromatic fringing on high-contrast edges. A patch cloned from the centre and pasted into a corner will look wrong until you match that falloff.
Step 6 — QC Under Every Condition
Before you call a shot done:
- Play it back at full speed
- Play it back at half speed
- Apply a strong color grade (push contrast and saturation) and play again
- Watch it on a phone-sized window
- Watch it full-screen on a calibrated monitor
- Scrub backwards — the eye catches different artefacts in reverse
- Compare against the original plate, A/B, at least twice
Issues that are invisible on your editing monitor will scream once the shot is graded and delivered to a client.
Which Tool for Which Shot
| Situation | Tool that usually wins | Why |
|---|---|---|
| Locked-off shot, flat background | After Effects Content-Aware Fill | Fast, needs no tracking setup |
| Camera move over a flat surface | Mocha Pro planar track + clone | Track survives the whole move |
| Handheld, deep parallax | Nuke 3D solve + projection | Only stable option with real depth |
| Wire crossing skin or hair | Silhouette / manual paint | Nothing automated holds up here |
| Long batch of similar shots | Nuke with a templated script | Setup amortises across shots |
There is no single best tool. A studio that only owns After Effects will quote every shot as if it were the first row of that table, and the price will reflect it.
Footage Problems That Change the Price
Not all 1080p is equal. These four issues routinely double a quote:
- Heavy compression. H.264 from a consumer camera has already thrown away the fine detail that cloning depends on. Blocking artefacts around the wire have to be rebuilt by hand.
- Rolling shutter. On fast pans, straight lines bend and the wire skews differently on every frame. The plate has to be de-warped before tracking, then re-warped after.
- Log or RAW without a LUT. Painting in log space and grading afterwards will reveal mismatches that were invisible while you worked. Always comp under the show LUT.
- Mixed frame rates or conformed footage. Retimed frames are blended frames; there is no clean source to clone from on the blend.
Send the original camera files when you can. A vendor working from a compressed review copy is guessing.
What to Send Your Vendor
A brief that gets an accurate quote back within a day contains:
- The actual clips, not screenshots — compressed previews are fine for quoting
- Any clean plates shot on the day
- Your delivery spec: resolution, codec, frame rate, colour space and LUT
- The deadline, and whether it is a hard air date
- A note on what must not change — usually the grade, the performer's face, or a brand element
Realistic Time and Cost
For a single 5-second shot at 1080p, at our standard $25/hr rate:
| Shot type | Typical hours | Typical cost |
|---|---|---|
| Single wire, locked off, clean plate available | 1–2 | $25–$50 |
| Single wire, moving camera, flat background | 3–5 | $75–$125 |
| Multiple wires, crossing body, handheld | 8–14 | $200–$350 |
| Wire crossing face or hair, 4K | 14–24 | $350–$600 |
Bulk projects of five or more videos run at $20/hr. Full detail is in our video cleanup pricing guide for agencies.
When to Outsource
If your project involves more than a few seconds of wire removal — or if the shot is complex, high-resolution, or fast-moving — outsourcing to a specialized cleanup team is almost always cheaper than doing it in-house. A single complex shot can eat 20+ hours from a generalist editor. A specialist team can deliver the same shot in 2–4 hours at broadcast-grade quality.
The arithmetic is usually decisive. An in-house editor billed internally at $60/hr who needs 20 hours costs you $1,200 and three days of their other work. The same shot at a specialist studio is a few hundred dollars and lands overnight.
Frequently Asked Questions
How long does wire removal take? A simple wire on a locked-off shot with a clean plate takes one to two hours per five seconds. A complex stunt with multiple wires crossing the performer takes eight to fourteen hours for the same length.
Can AI remove wires automatically? Partly. Content-Aware Fill and the current generation of AI cleanup tools handle simple, flat backgrounds well. They fail predictably on hair, skin, motion blur and anything with parallax — which is most action footage. Every shot still needs manual inspection.
Do you need the original camera files? Not to quote, but yes to deliver. Compressed previews are fine for an estimate; final work should be done on the highest-quality source you have.
What if there is no clean plate? It is still doable — the clean pixels are reconstructed from other frames or painted by hand. Expect the shot to take roughly twice as long.
What do you deliver? Whatever your pipeline needs: ProRes, DNxHR, EXR sequences with or without alpha, in your working colour space, at your frame rate.
If you need a quote on a specific clip, send it to us — we'll evaluate it and quote per shot with no obligation. You can also read the five mistakes we see most often in common rig removal mistakes, or see the full service on our rig and wire removal page.
Related Services
Let our team handle it for you
Need professional VFX cleanup on your footage?
Get a Free Quote